So this will begin to detail the process of rebuilding my laser engraver. The original incantation started off being more of a proof of concept and was only the second machine that i ever designed, so it was at best both unfinished and flawed. It was 40w and based heavily on the 2.x Laser from Bart Dring at buildlog.net. It worked well and introduced me into the world of laser engraving and cutting.
But, some of the obvious flaws were that it was controlled by LinuxCNC, which while amazing for cnc machines, it lacks in the laser department. Vector engraving was easy enough, but raster engraving was next to impossible with any degree of accuracy. I was using an extension from Ben Jackson and Jeremy Van Grinsven that allowed laser rastering using a “magic z” approach. Late last year i started upgrading all of my machines to Mesa control cards, specifically a 7i96, and because of the speed reqiured to fire the laser vs the transfer rate over ethernet, it ended up breaking the whole system. Then end the middle of reworking the laser, it ended up getting -15º and for the first time it froze inside of my garage and cracked the water jacket on the laser tube.
So that cemented my decision to go with an DSP controller and at the same time, do away with makerslide/openV configuration. While OpenV is pretty awesome for quickly cobbling together machines, I have found that there are some pretty glaring flaws with it, namely its weakness when dealing with lateral forces. Also it is super easy to deform the rails when tightening insertion nuts. This has caused many a bumpy road when trying to adjust an endstop!
While surfing around looking for design inspirations, i stumbled across this one on instructables called the R-Laser 6020 and i was amazed at the attention to detail and clean engineering that went into it. I also learned what aluminum dibond was and there is a plastics supplier in Denver that sells sheets of it pretty reasonably. But there were also a few things about it that i thought that i could improve upon. I wanted to design something that was entirely self contained because i was not a huge fan of the 2 part machine / electronics cabinet. My space is limited and i could build one that would fit entirely on a workbench, albiet a wide one. The other thing i wanted to change was the lid. Something that opens both top and front would be easier to place objects inside of it and get them situated. And of course the z table would have to me much more stout because i do engrave on granite tiles which can be quite heavy.
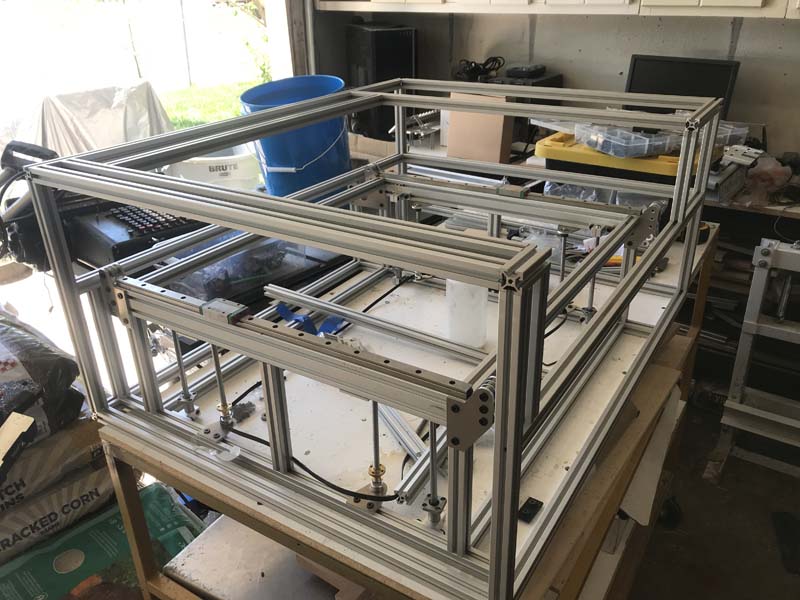
so after a waiting for my Misumi order, here is the frame. The rails are MGN15 rails which are bigger than i wanted to go, but they were what i had and i really did not feel like waiting weeks for to order them from RobotDigg and i was trying to stay within a budget as well.
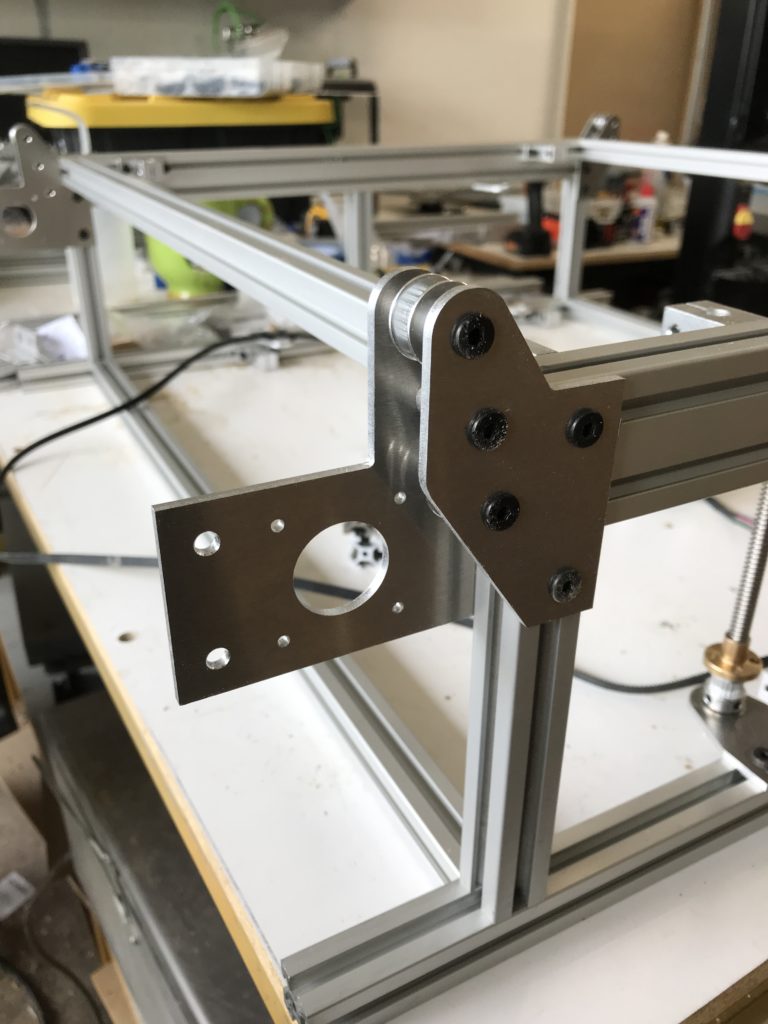
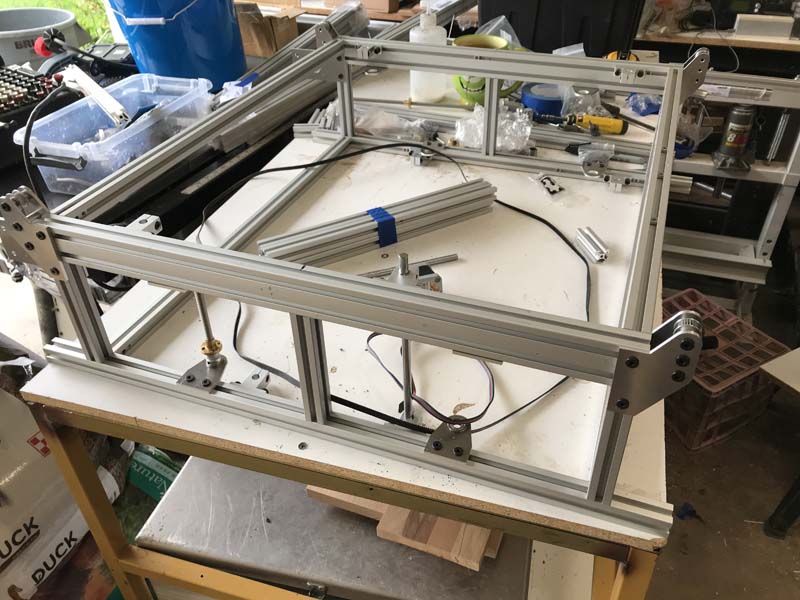
The overall design is an internal frame with a external cage to give it stability. The z axis was really designed around a handful of parts i had lying around, and mostly a long belt that would be able to turn 4 T8 threaded rods at the same time and used 8mm smooth rods for the guides.