Here is a quick post with the (re)construction of Chibi in pictures.
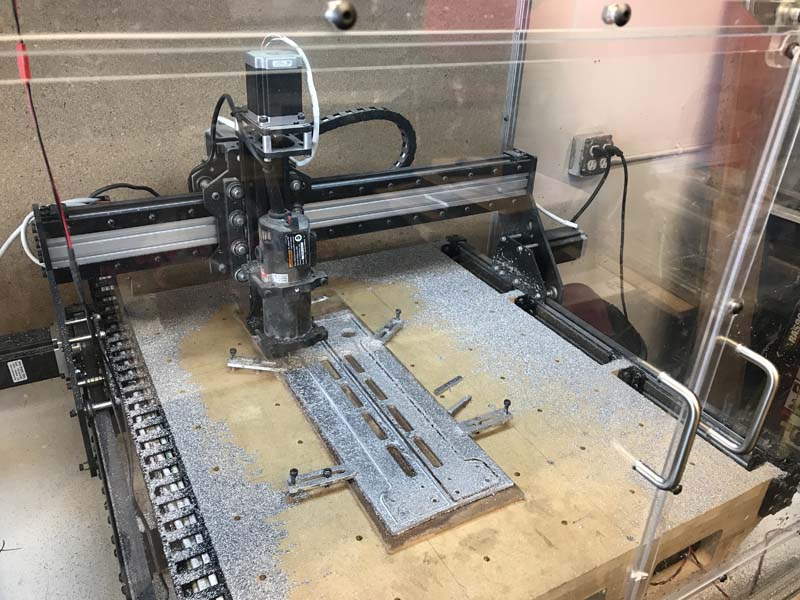
This is Chibi Mk II. This was based on the original design of Kuro and was driven by 20mm HTD-3M belts. It used open v-rail and and a harbor freight trim router for the spindle. It was a good design, but as you can see by what I was cutting (the x rails for my Oddbot), I was pushing the limits of what can be done with a belt driven machine and delrin wheels. While it worked well, it still didn’t have the repeatability, accuracy, or strength that I really needed.
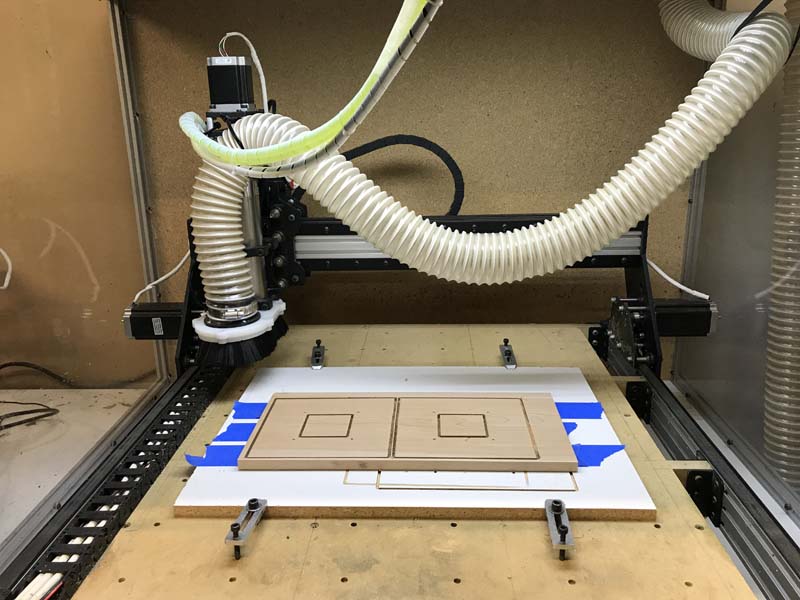
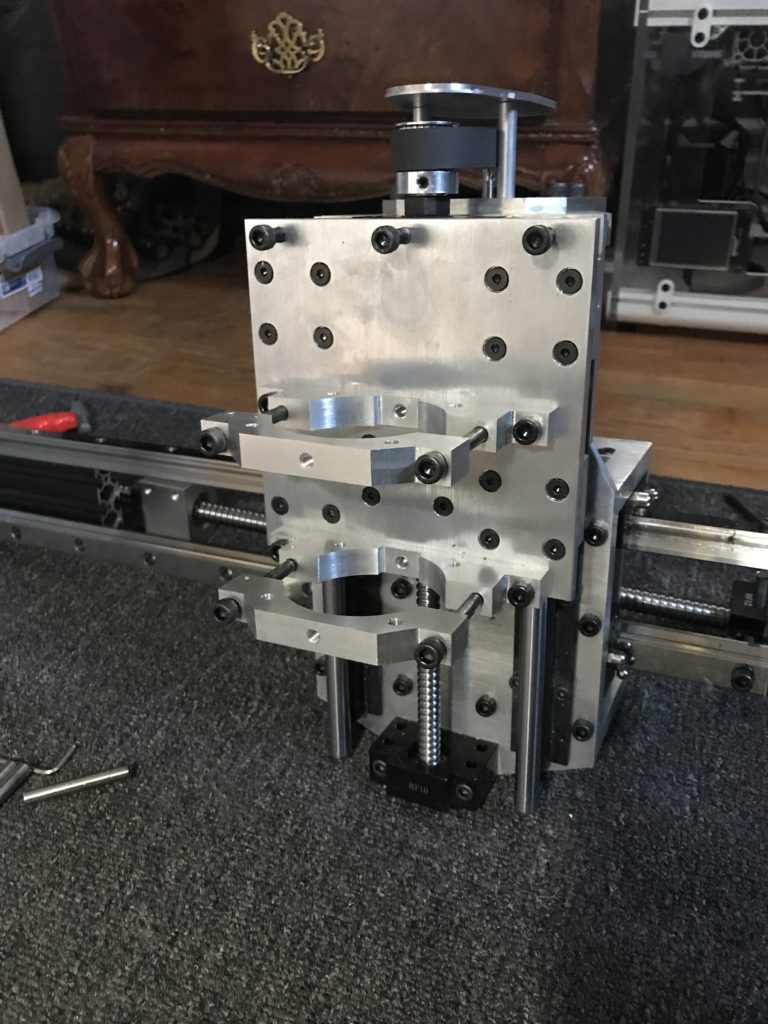
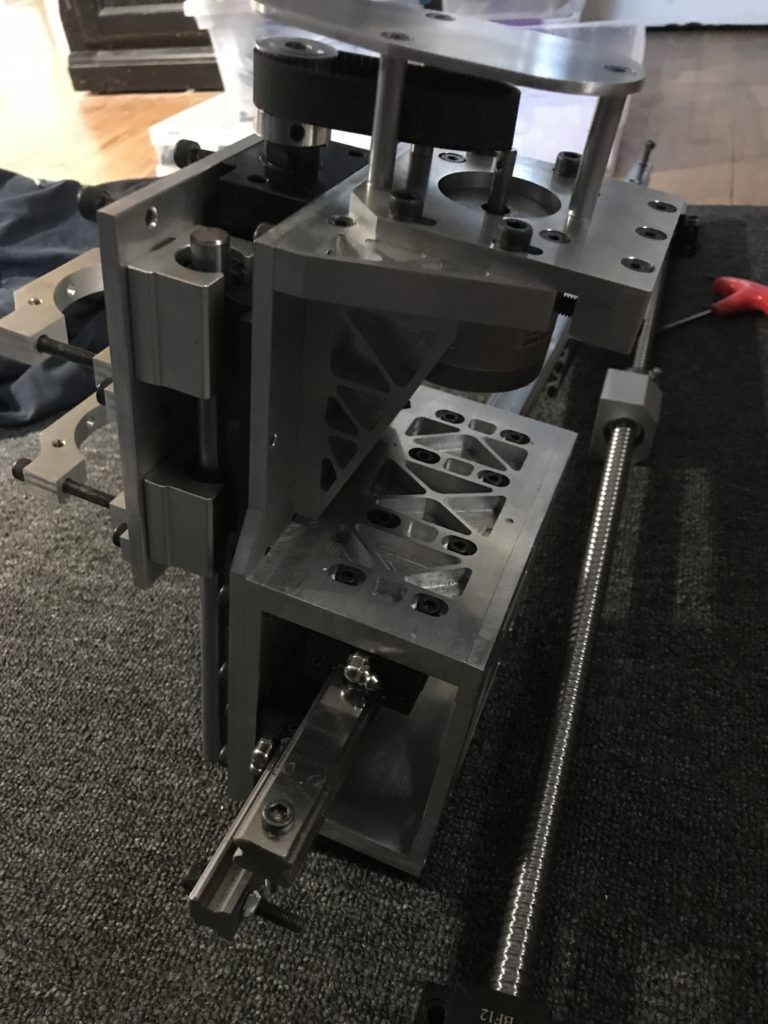
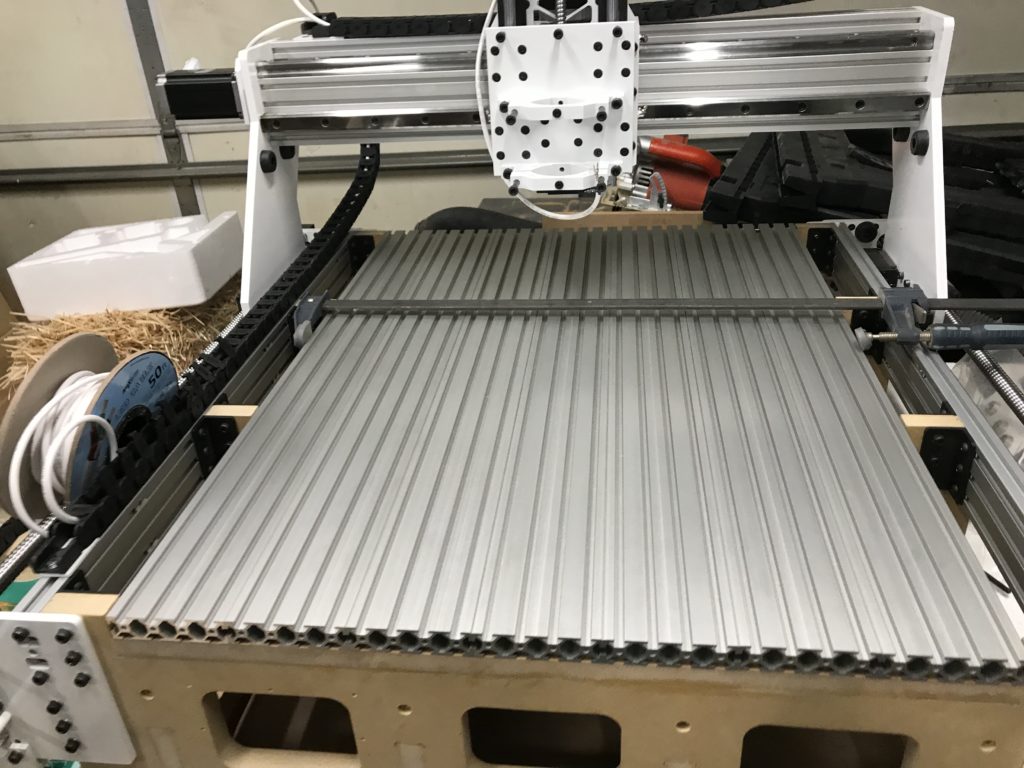
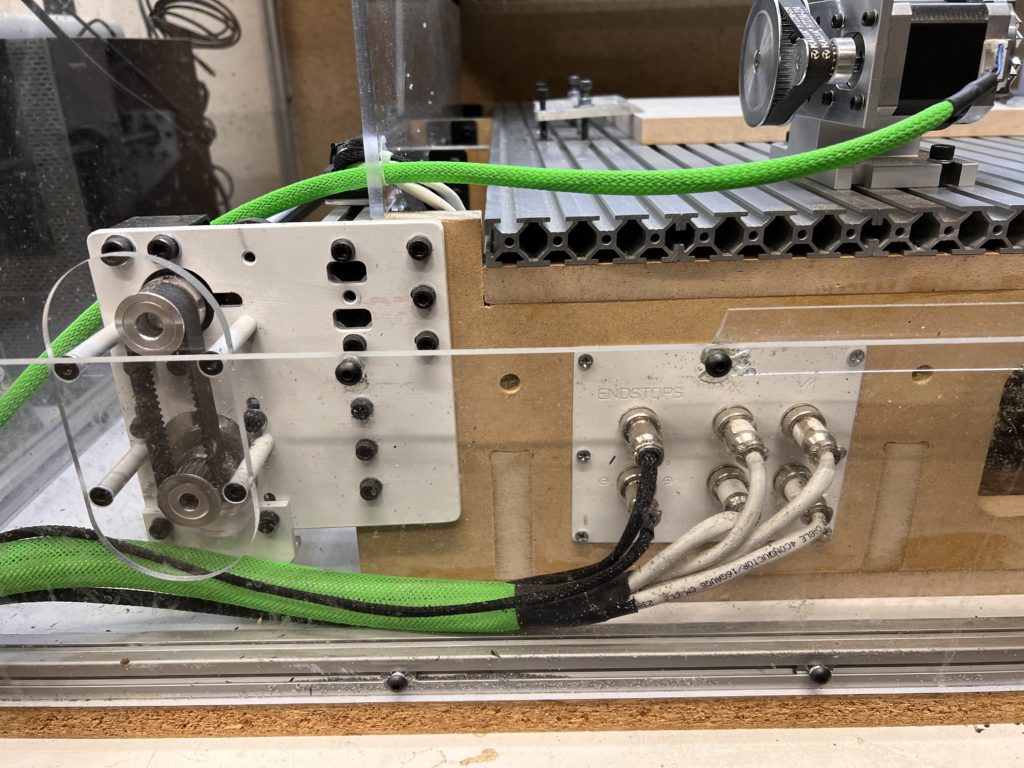
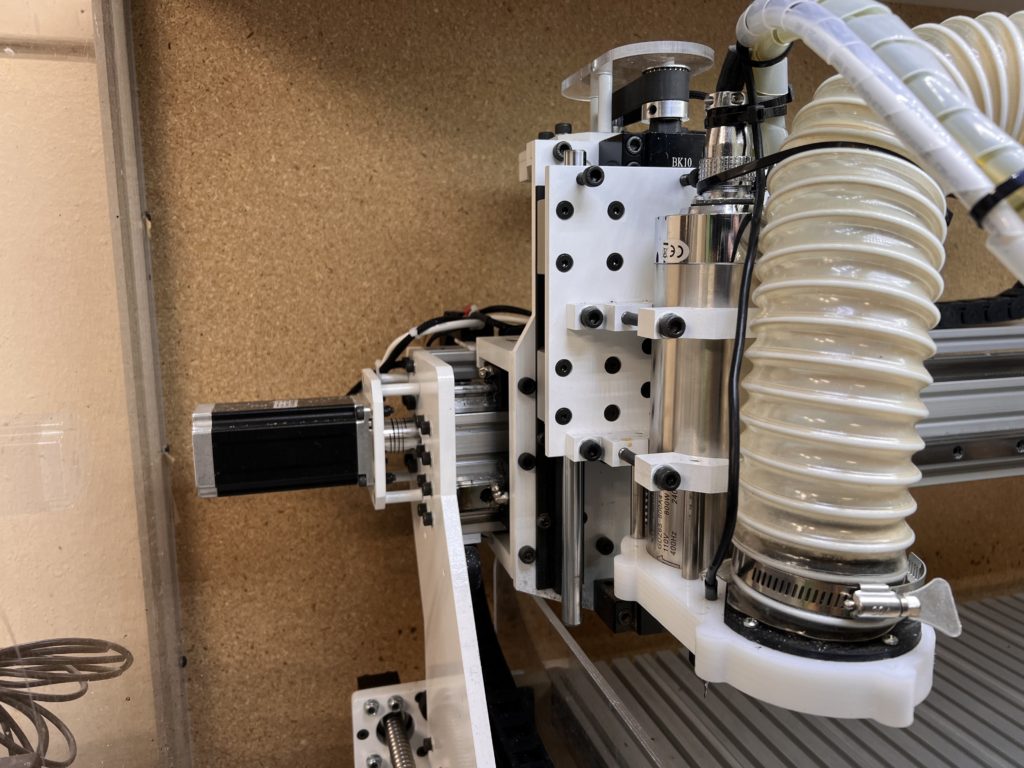
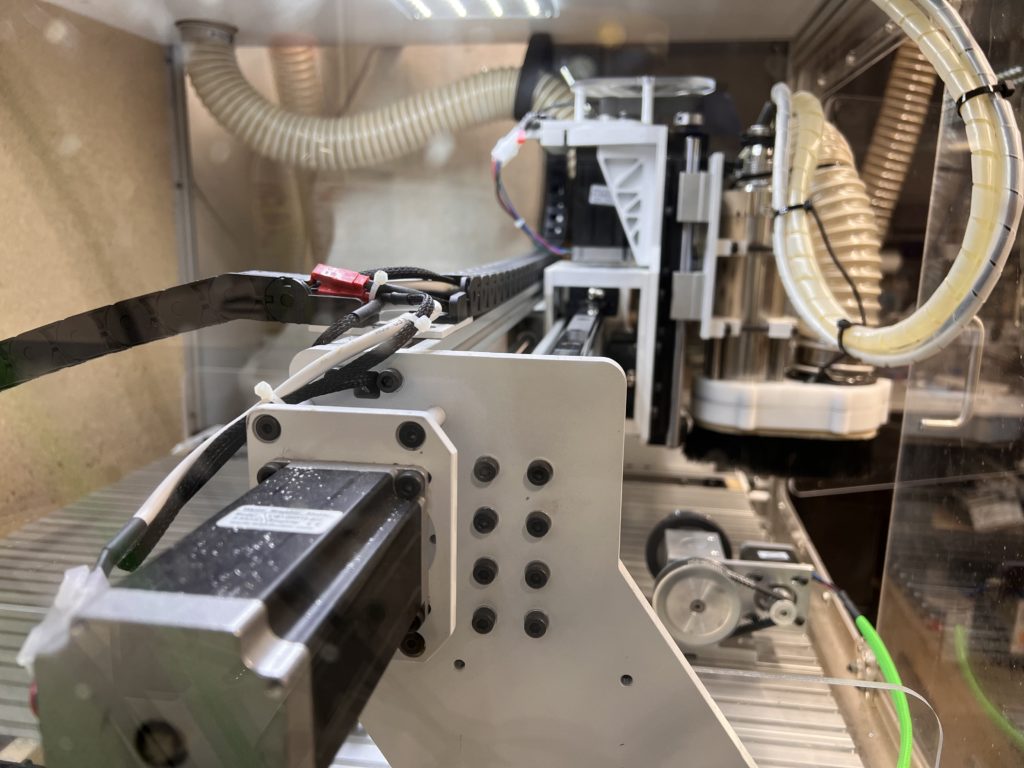
The final completed Chibi Mk III is built entirely out of 10mm and 12mm aluminum plate. The ballscrews are sfu1605 on the X and Y, and sfu1205 on the Z. The linear guides are trh20 and there are 2 on the X and 1 on ech side of the Y. This is not a fast setup, but it is extremely strong and very accurate. It is nice to work on a long cut and not have to be paranoid of a belt breaking in the middle of it!
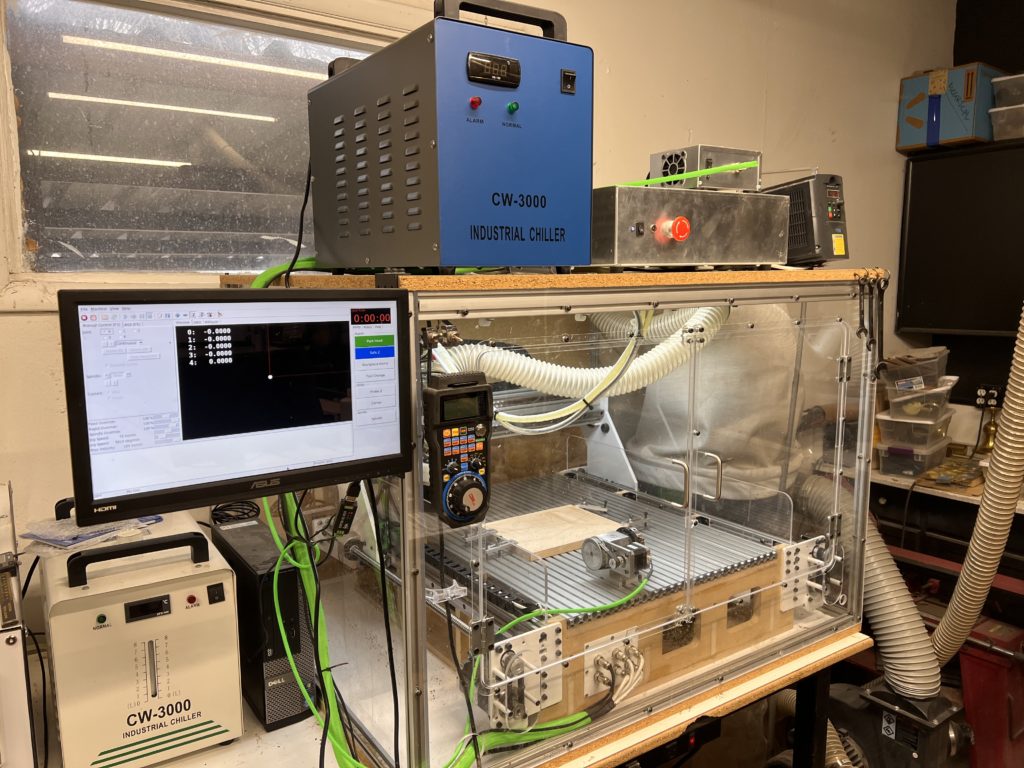
It is set up in linuxCnc as a XYYZ gantry. For the controller I went with a Mesa 7i96 ethernet board. These little boards are so awesome! You don’t have to worry about using a realtime kernel and all the other headaches of a parallel port. They can be configured as 5 stepgens or 4 stepgen and 1 PWM. Before I went to 4 axis, I was using the PWM port to control my spindle vfd, but then I needed it to run the A axis, so I used the built in RS485 controller with a usb to RS485 adaptor for LinuxCNC.
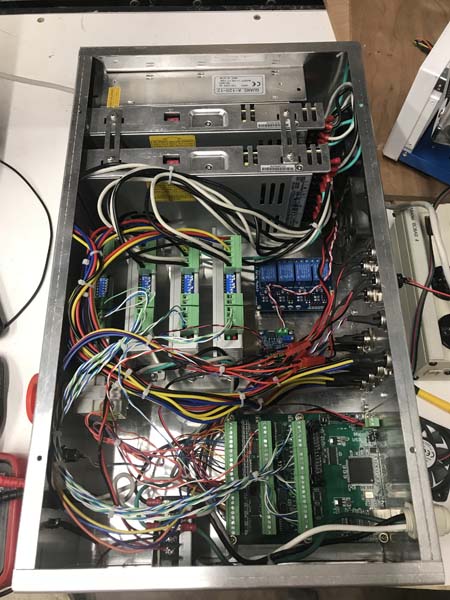
In the future though, I do believe I will redo the controller box. One thing that I want to do is power each driver on a separate power supply. Right now I am running it at 48v with 4 Stepper Online DM542Y stepper drivers and 2x 48v 7.3a power supplies. The nice thing about them are that they have active cooling and are super slim vs typical switching power supply. These were the first digital drivers that I tried and did not realize how much of a difference that they mad in performance! The original drivers were the Toshiba 6600 series and they got hot and lost steps. These are super quiet and powerful and I really love that they don’t shake the foundations with the hard startup!