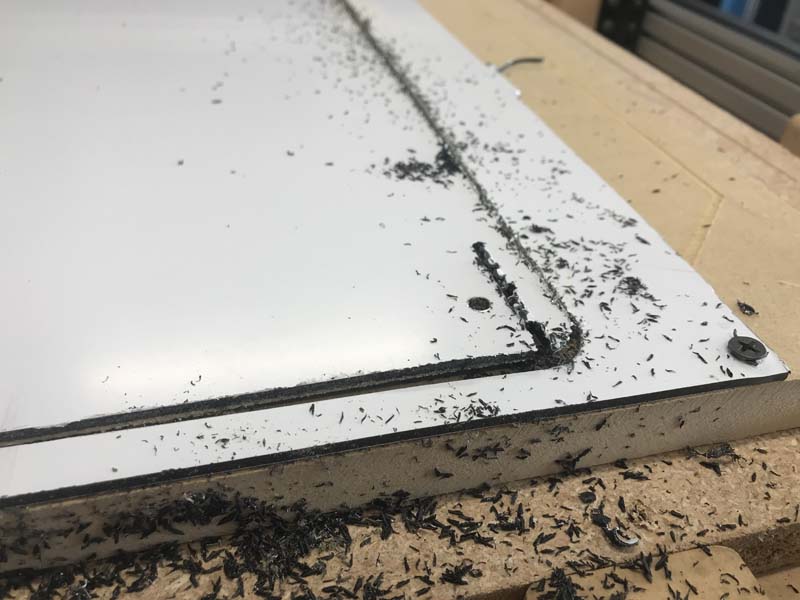
This is the first time that I have ever worked with aluminum dibond, so it was a bit of an adventerous learning curve. One thing that I did learn the hard way is that when using my dust collector, that it was a lifesaver for all of the small chips that came off of it, but it creates lots of long strings of plastic that got caught up in the intake of it and caused a huge rats nest. It took a couple of days to realize that I had lost alot of suction and when I was cleaning out my bag, that is when I noticed that my intake was clogged!
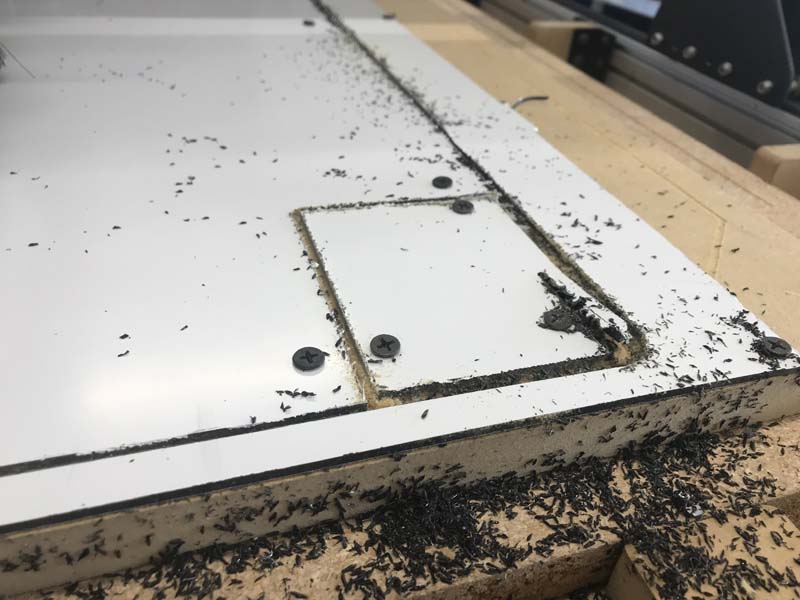
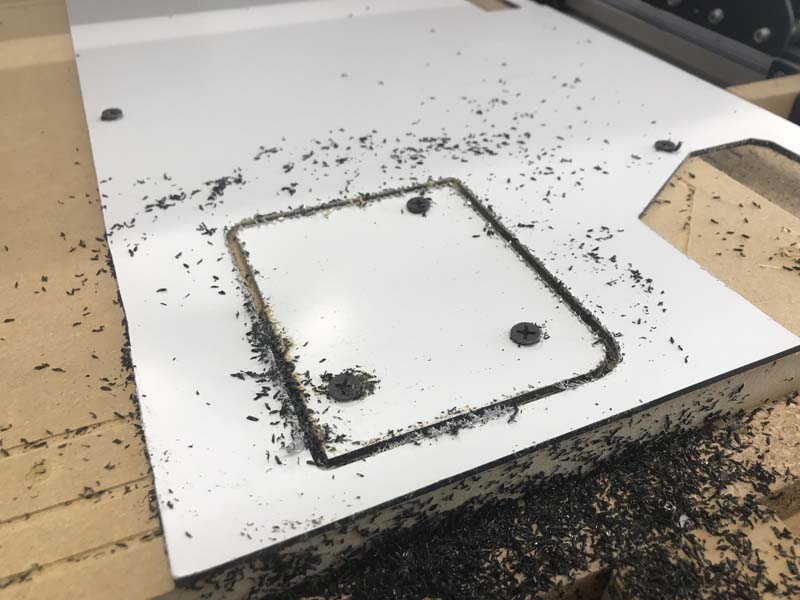
When cutting into it, overall it cuts much like hdpe maybe a little firmer. The aluminum cladding really didnt affect my cuts or speeds too much. For most things like this, I use a spiral ramp with a single cleanup pass at the bottom and I overcut the depth by about 0.25mm just to make sure that all is cut through and clean. Sometimes the aluminum will leave rougher edges because of how fast I was feeding, but that was easily cleaned up with a deburing tool. But if using one of these (which are one of the greatest tools I ever bought), just make sure that you use a light touch because once you debur the aluminum it is super easy to dig right into the composite center!
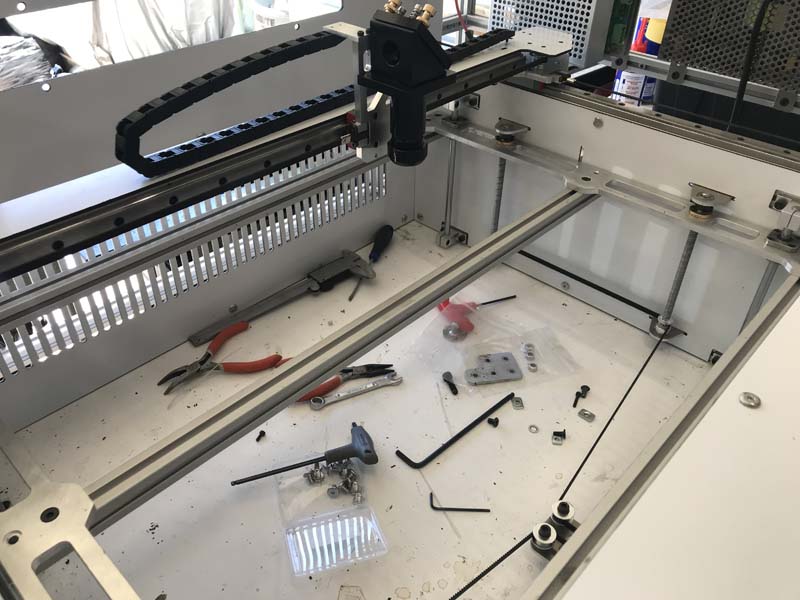
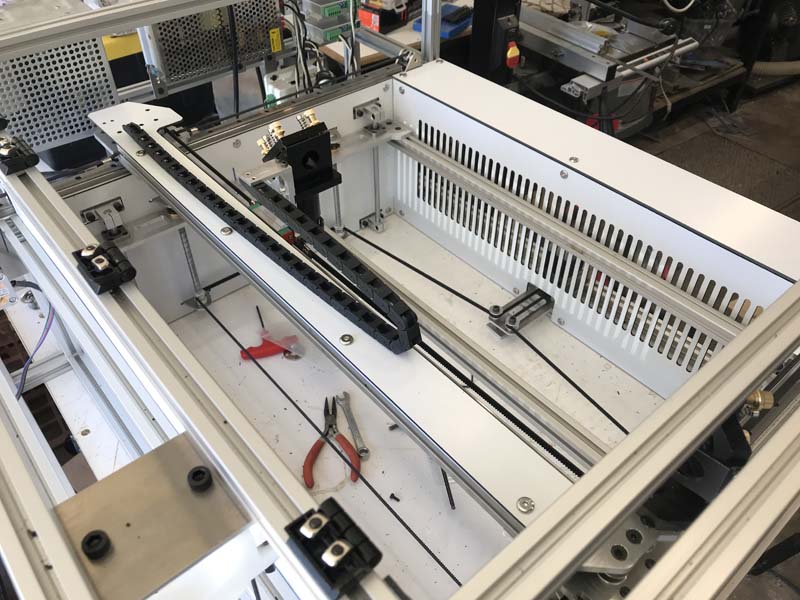
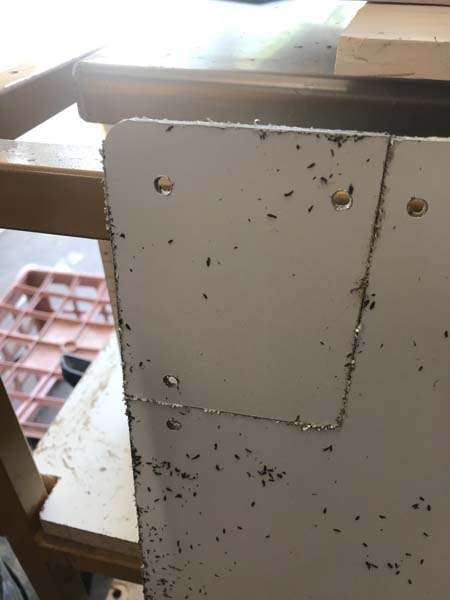
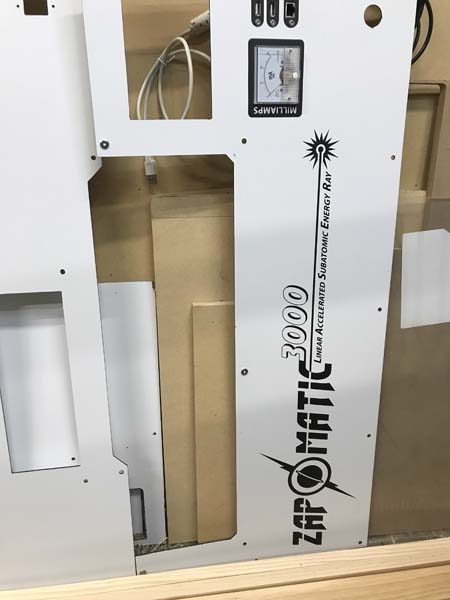
One of the other things is always make sure that your spindle is off and retracted before you make a jog! I went to jog after cutting one of the side panels and it had came up because I was just using its weight and a few screws to hold it in place and one of the corners came up and totally got ate by the bit! That was a huge let down because I had measured and only bought exactly what I needed at least for the big panels, so after much cursing and kicking things, decided that while it was still fastened down that I would cut out the corner and make an access panel right there so that I could get in and adjust the first mirror alignment without taking off the entire side panel. Not an ideal situation, but a nice recovery. Nobody saw that right?